Here, at Decor Luxury Stones a Leading Natural Stone Supplier in India offer our customers an inspirational and extensive range of high-quality, natural stone products. Whether you’re looking to renovate an existing home, build a new place from scratch, or redesign a commercial complex – we’ve got the right solutions for you.
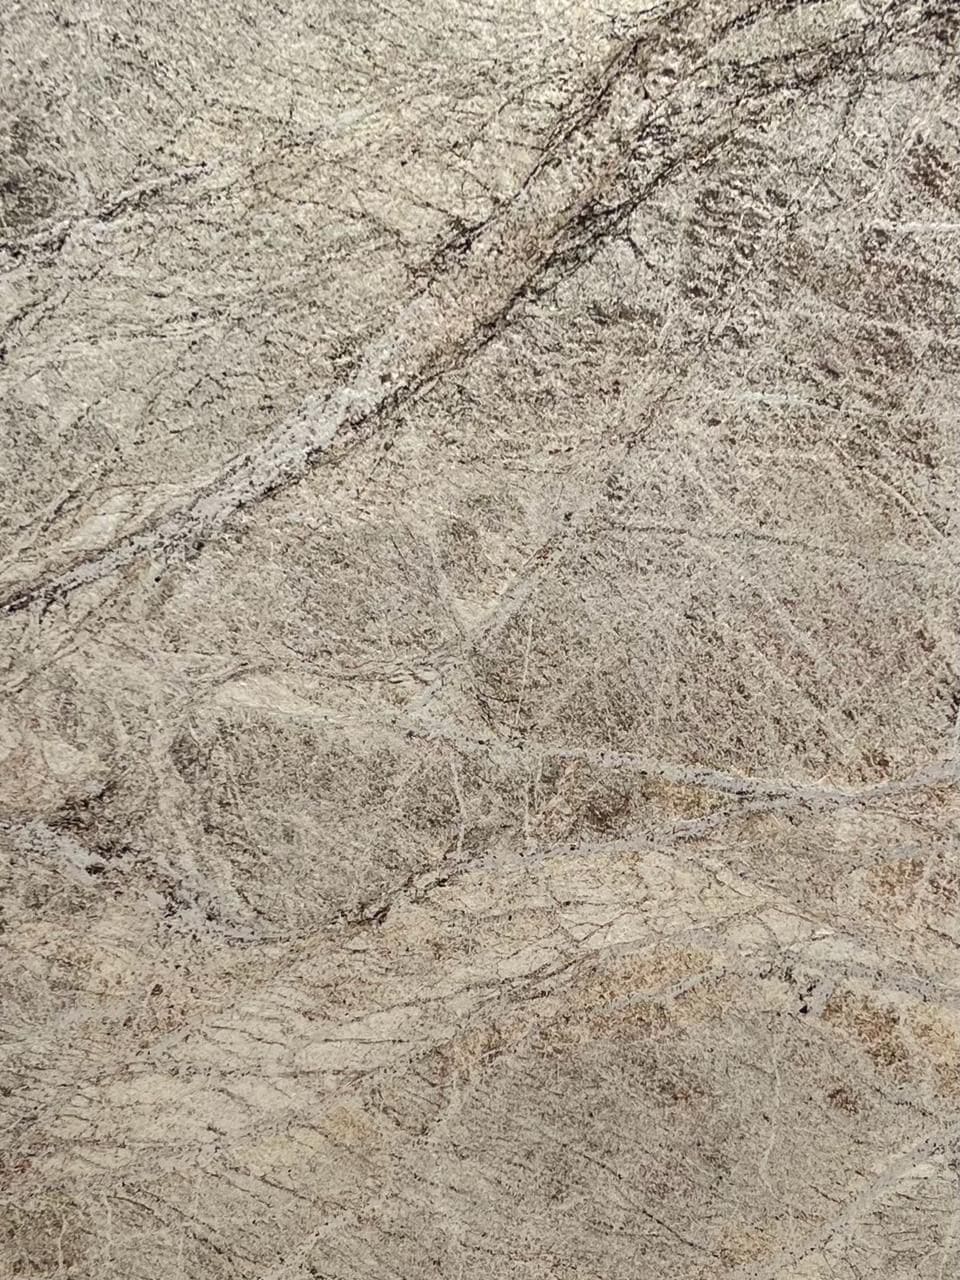
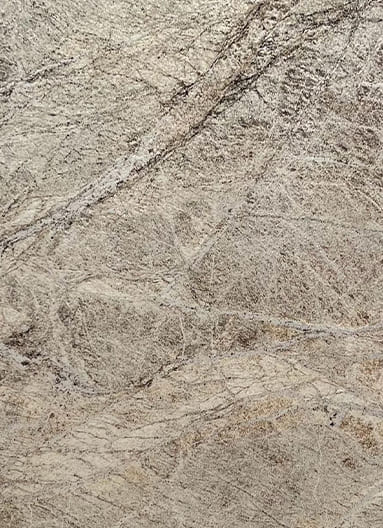
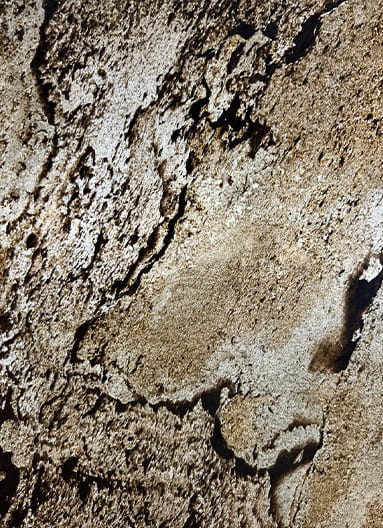
With more than 25 years of expertise in the Indian stone industry, we have evolved as the one of leading natural stone suppliers in the country. We are involved in the manufacture, supply, and export of high-quality, premium natural stones like marble, granite, limestone, quartzite, sandstone, and slate stone etc.
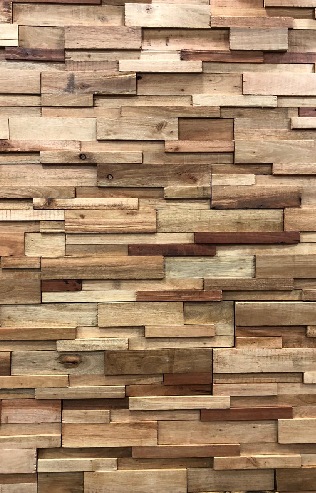
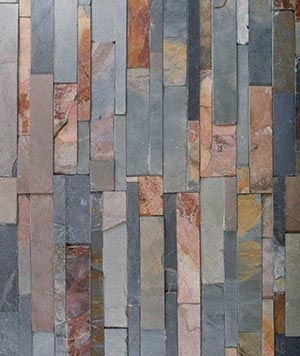
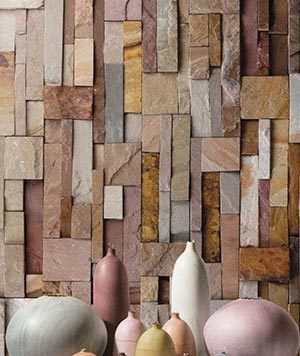
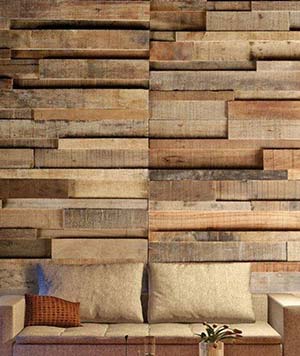
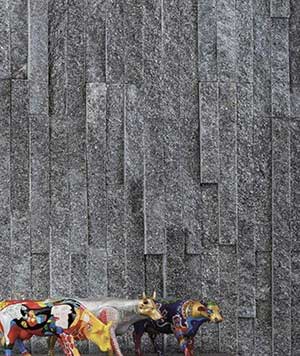
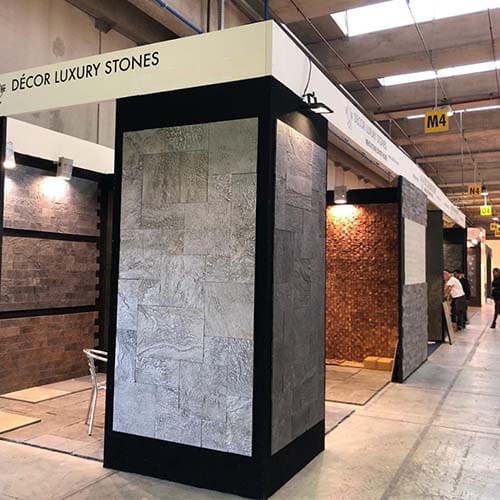
Apart from natural stones, we also provide an extensive range of other construction and landscaping products like floor tiles, paving stones, 3D wood mosaic tiles, cobble tiles, stone veneer and more. We also make antique flooring tiles, walling stones, swimming pool surround stones, stone sills, stone artifacts, stone lanterns, artistic stone murals and more.
Whatever be your requirement, we’ve got the perfect solution for you!
Natural stone is one of the most used construction materials around the world. The timeless appeal and long-lasting durability, make it one of the best construction materials known to man. Apart from construction, natural stone is also used for a wide array of decorative purposes.
With nearly three decades of experience in the construction industry, you can trust us to provide you with genuine and honest feedback. We don’t just stop with selling our products. Instead, our team of stone experts including interior designers, engineers, and expert craftsmen, work together to provide you with the perfect solution, to create a space that is as unique as you.
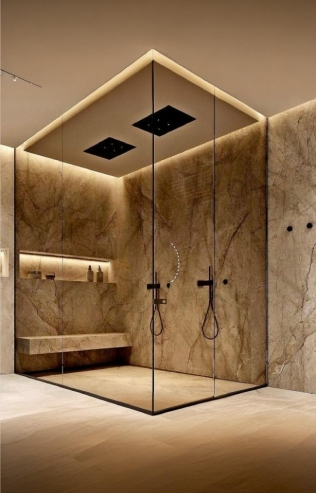
Whether you’re looking for natural stone for your living rooms, kitchen, bathrooms, bedrooms, accent walls, hallways, corridors, patios, verandahs, reception lobbies, lounges, or any other space – we’ve got the perfect solution for you, at the most affordable prices!
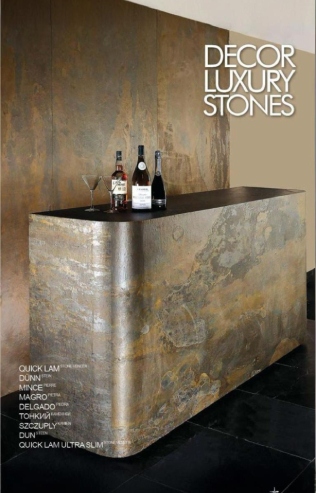
Constructing Dream Buildings with Natural Stone!
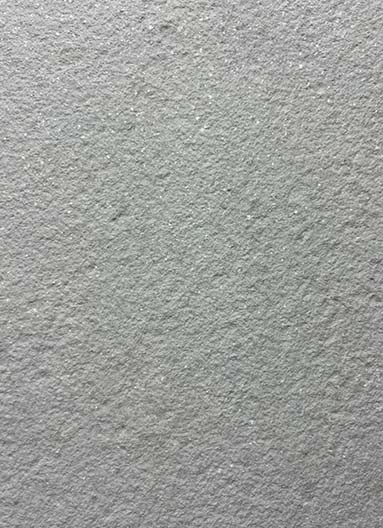
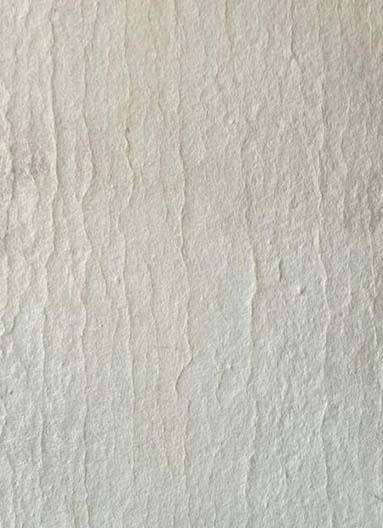
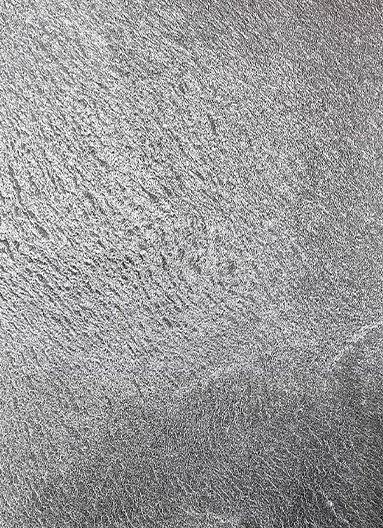
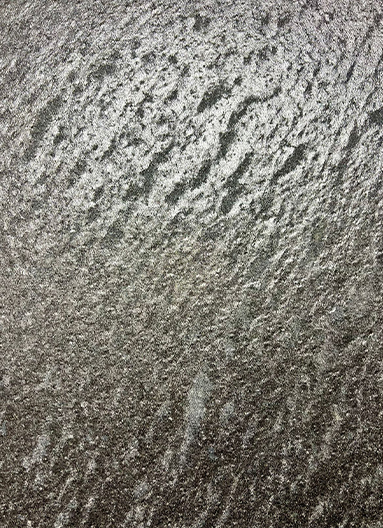
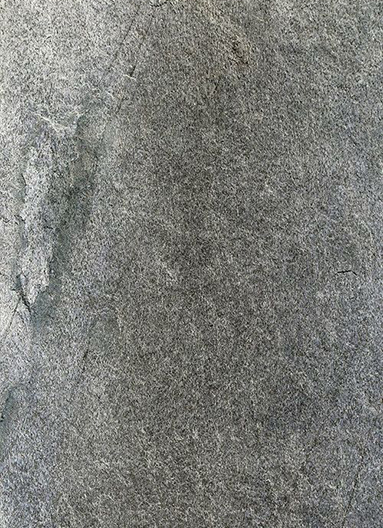
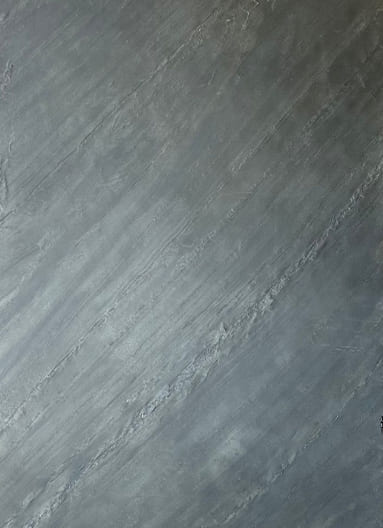
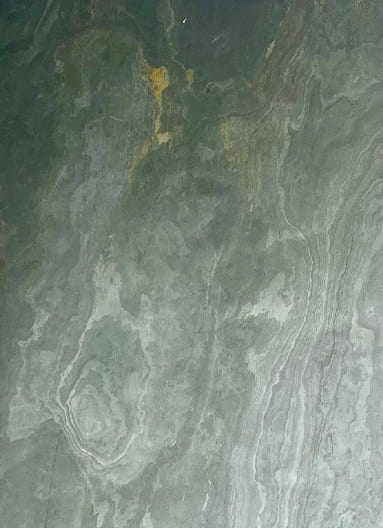
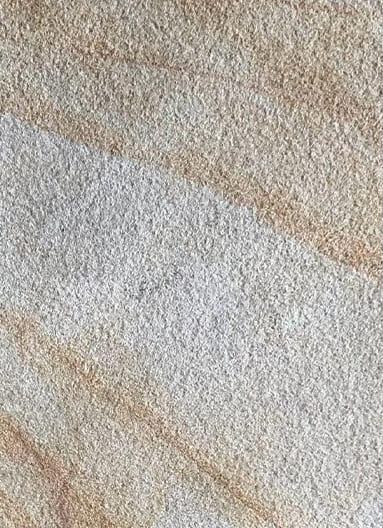
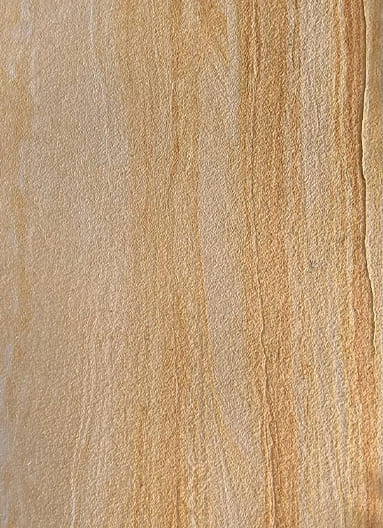
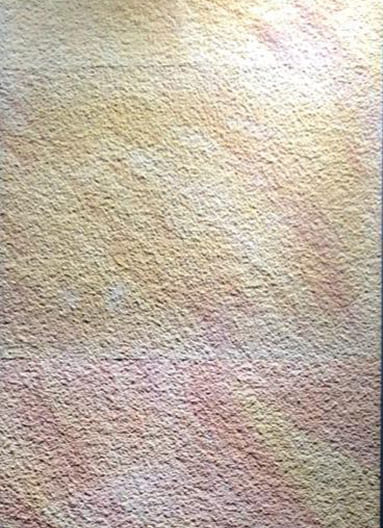
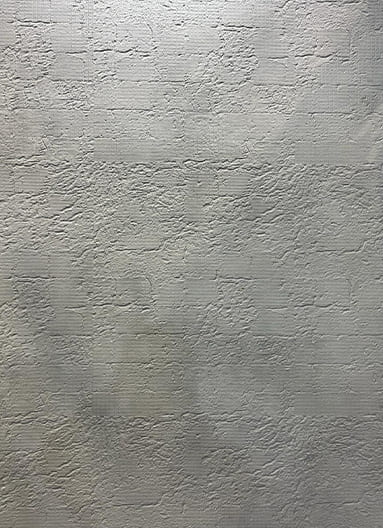
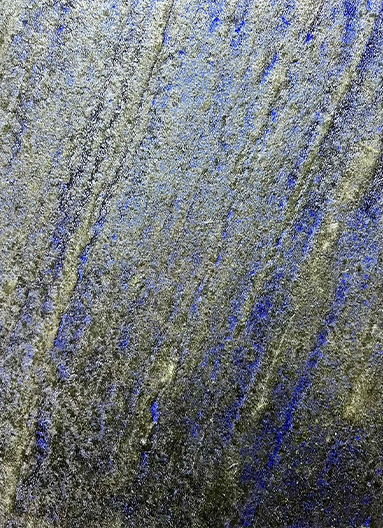
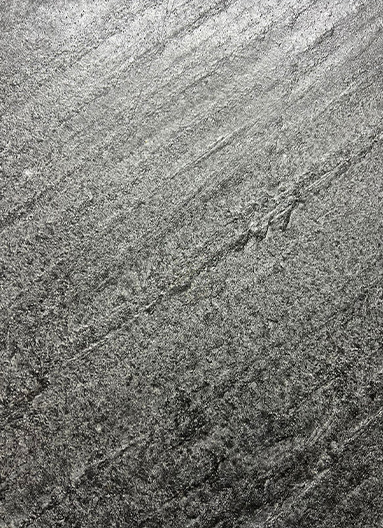
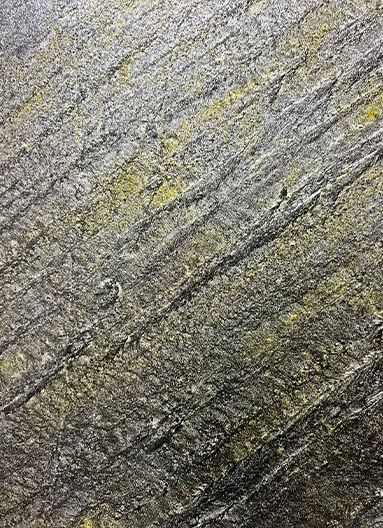
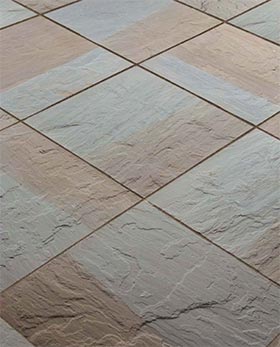
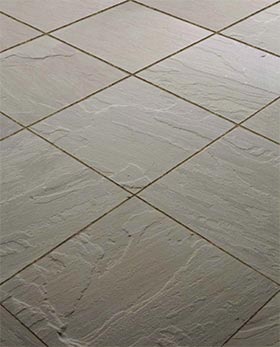
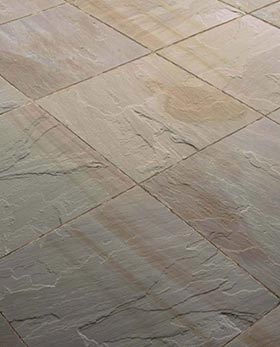
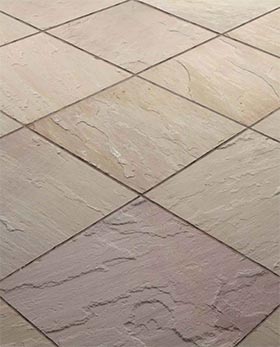
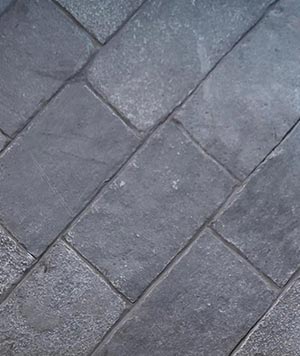
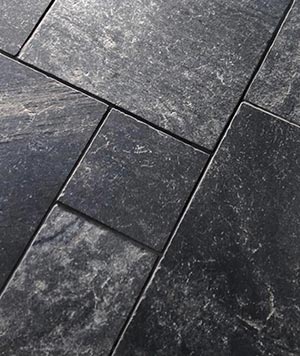
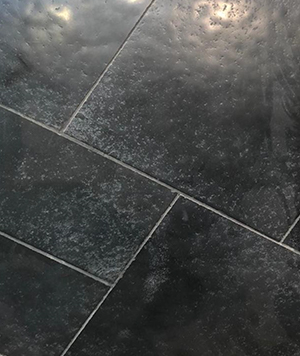
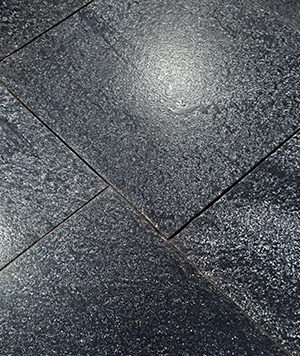
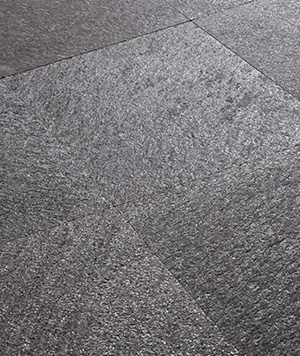
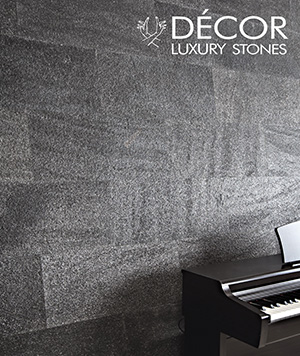
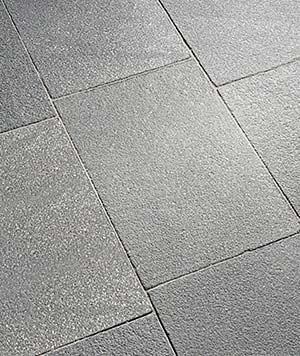
Tiles in Sandstone Slate Quarzite Limestone natural stone Tiles Breathtaking quality, independently tested & guaranteed DECOR LUXURY STONES selection of tiles are
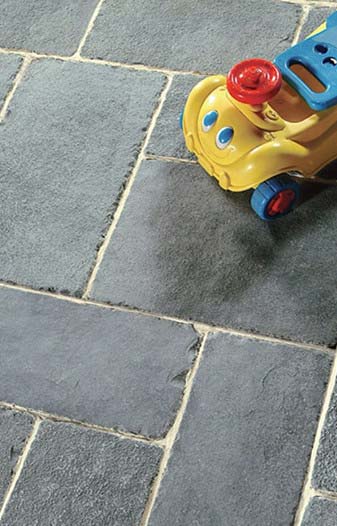
12 mm in thickness and suitable for fixing to hard, stable substrate surfaces with no cracks. Tiles are thin so they are best suited to foot traffic. All our stone is suitable for indoor floors; some are suitable for outdoor patio & verandah paving applications; some are best suited to wet areas e.g. bathrooms. Outdoor exposure to rain, dirt, leaves, moss etc makes some types of stone impractical for certain purposes. Where this is the case, pavers are a great alternative.